Apple
II was a very good and quite popular 8-bit machine in its time. It
features a hardware UART for RS-232 port communication that can still
be used today. Even from the BASIC language level, it is quite simple
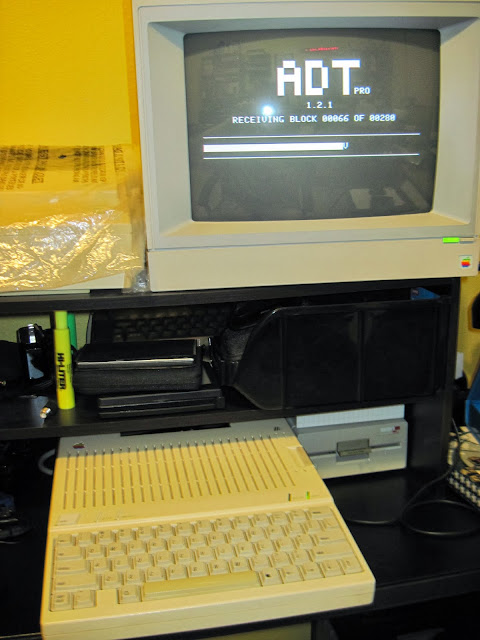
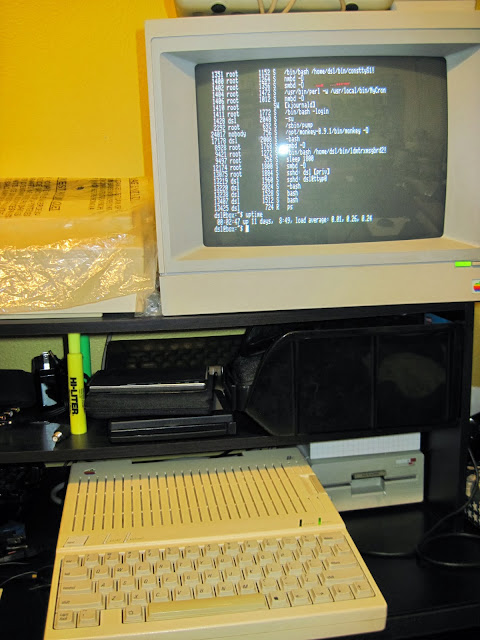
to make the use of that feature. I happen to own Apple IIc, which I did not own in the 80-s. I bought the set of the computer, monitor, printer and software on e-bay out of curiosity. I have to admit I also like the look of the little machine which was advertised as a portable Apple II. It would no pass the standards of portability today, however in the early to mid 1980-s it was enough if the computer had a carrying handle and/or some sort of a case. Apple IIc has an UART/RS-232 built in permanently as it does not feature the expansion bus as its bigger brother Apple II does.
The
basics are as follows:
On
the PC side setup port to 300 baud (default apple 2c speed), 8 bit,
no parity, 1 stop bit, no flow control. Your terminal may or may not
offer customization of the parameters listed below. I used the Hyper
Terminal Private Edition. Other emulators may offer the customization
of the listed below properties in the different form. Follow you
terminal emulator's documentation:
Terminal
setup: ANSI
ASCII
setup: append line feed to incoming line ends, force incoming data to
7-bit ASCII.
Apple IIc side - issue command PR#2.
Now
all the output goes via serial wire to a PC.
Alternative
baud setup:
Apple
2c:
After
PR#2 command, press CTRL-A and then the baud code:
CODE BAUD
1B 50
2B 75
3B 110
4B 135
5B 150
6B 300
7B 600
8B 1200
9B 1800
10B 2400
11B 3600
12B 4800
13B 7200
14B 9600
15B 19200
16B 115k
To
setup the serial port speed from basic, use print chr$(1) followed by
the speed code, e.g:
10
pr# 2
15
print chr$(1);"15b"
20
print "hello world!"
30
goto 20
Above
program will redirect output to serial port and setup transmission
speed to 19200 baud.
PC
side - follow manual of your terminal emulator software to match the
baud rate of the Apple 2c.
The
automatic line trace in BASIC is automatically on (seems to be a
feature) when the output is redirected to a serial line. Perhaps
because such mode of working was intended for development/debugging
purpose. Anyway, it is good to include NOTRACE just after PR#2 in
your program to turn this feature off. There are several other (than
baud rate) parameters that can be setup for serial port after IN#2 or
PR#2. Just use PRINT CHR$(1);"{command_code}" to set them
up.
Here
are the command codes:
Data
format
Code Data
Length Stop bits
0D 8 1
1D 7 1
2D 6 1
3D 5 1
4D 8 2
5D 7 2
6D 6 2
7D 5 2
ASCII
setup:
Code Effect
I echo
output to the screen
K do
not send line feed after carriage return
L send
line feed after carriage return
Parity:
Code Parity
Check Mode
0P none
1P odd
2P none
3P even
4P none
5P MARK(1)
6P none
7P SPACE(0)
Example
BASIC program setting up 9600 baud, 8-N-1, send LF after CR:
20
PR#2
30
NOTRACE
40
PRINT CHR$(1);"14b"
50
PRINT CHR$(1);"0d"
60
PRINT CHR$(1);"0p"
70
PRINT CHR$(1);"l":rem it is small "L".
For
some reason, I have to setup 7 bit data length, 1 stop bit on the PC
side, even though Apple works in 8-1 mode. I will have to look into
this later, for now I don't understand why the discrepancy.
On
Linux (R-Pi) I used 'putty' or just plain "cat /dev/ttyUSB0"
to receive data from apple.
To
redirect input and output to serial port, so you can work on apple
from remote terminal, type on apple:
IN#2
{CTRL-A)14b
PR#2
From
this moment, whatever you type in the terminal emulator on the PC
workstation is really happening on Apple. The PC workstation acts a a dumb terminal
for the Apple computer. Pretty cool. You can actually create a boot
diskette for the Apple to load up and execute all necessary serial
port initialization commands at the boot time and with a PC/laptop
connected to the Apple via serial port (or USB with USB to serial converter) you do not need a display monitor with the Apple computer.
This way of working with Apple II of course may have some
limitations, which I am sure user would discover very quickly.
However it is possible to work with BASIC and text based programs in
this manner.
Happy
retro-computing!
Thank
you for reading.
Marek
Karcz, 11/17/2013


